You are using an out of date browser. It may not display this or other websites correctly.
You should upgrade or use an alternative browser.
You should upgrade or use an alternative browser.
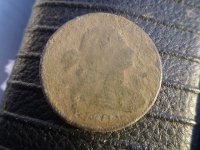
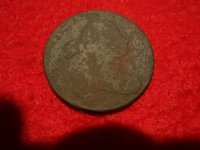
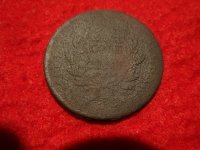
Renaissance Wax: Before & After Results
- Thread starter The Rebel
- Start date
del
Administrator
I usually put on a good coat with a Q-tip and once it drys you can usually see a light colored haze about it . I then take a soft bristled brush and buff it good until i can see a nice contrast of the highs and lows on the coin. the highs have a nice sheen to them . nice pictures Roger.
Mayadigger
New member
Ave Rebel et al,
The application of renwax is Your Friend when it comes to bringing out details on worn coins/artifacts, especially those with green patina. The wax not only protects your objects from the atmosphere, but also helps darken the patina to an eye-pleasing color.
I apply the wax with my thumb and fore-finger, just to fully work the wax into all the surfaces. This ain't rocket science, no Q-tips, please. Just like waxing a car, the more coats the better. The trick, as mentioned above is to let each thin coat of wax to fully dry, then buff. I use a special Dremel buffing tool. You can simply place your coin onto a soft cotton towel, gently press down and buff it about in a swirling manner. The more coats the more you'll begin to see the 3D effect of the multiple coats.
Hope this helps,
Kevin
